I was just sat having a good old browse of YouTube, as you do, and came across this interesting video of someone creating a tintype.
This isn’t something I have ever tried creating myself, but I’d be really interested in giving it a go.
Enjoy 😀
I was just sat having a good old browse of YouTube, as you do, and came across this interesting video of someone creating a tintype.
This isn’t something I have ever tried creating myself, but I’d be really interested in giving it a go.
Enjoy 😀
Today I completed the Pinox paper pinhole camera. I have loaded it with some 400 ISO black and white film and will shoot some pics over the next few days.
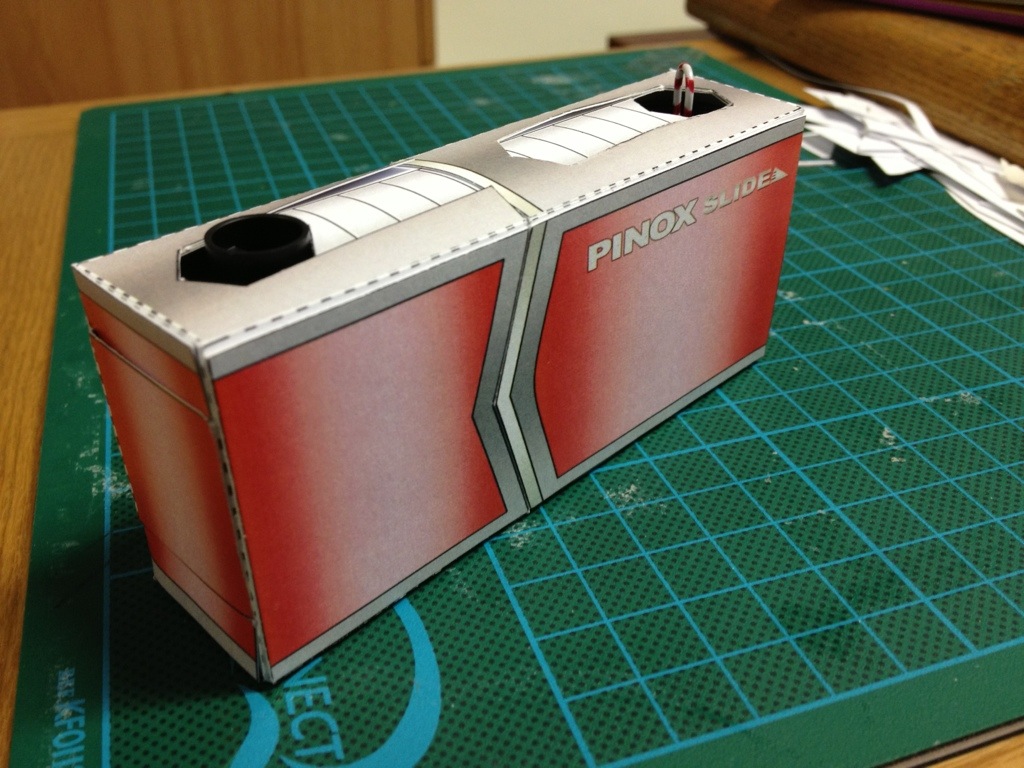
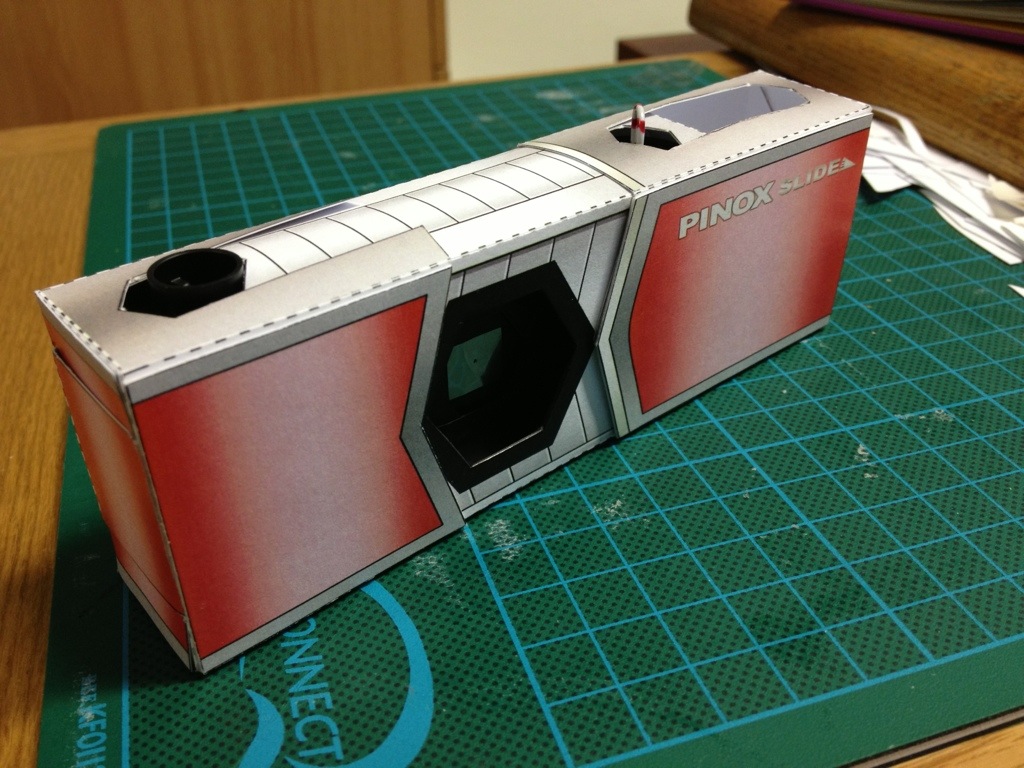
Whilst putting it together I discovered a couple of things that needed fettling to get the best possible results from the camera.
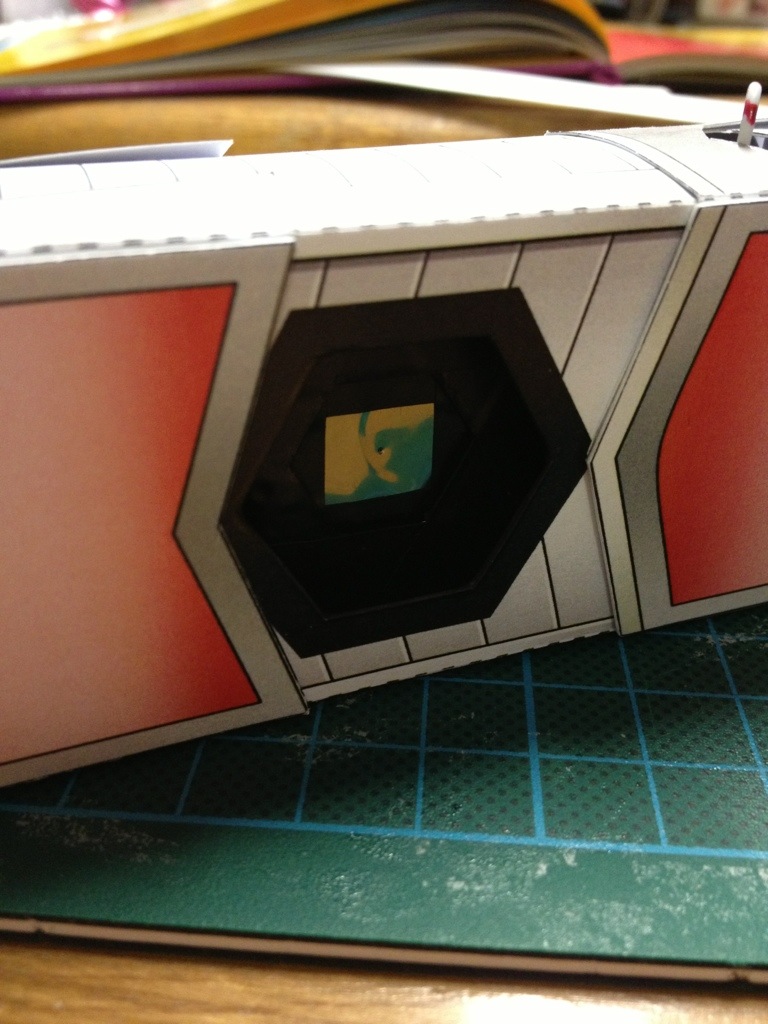
First of all, the edge of the card where the front aperture in the camera is cut shows white. This could cause issues with light reflecting off it, so I ran a black marker along each edge of the hexagon, as can be seen below.
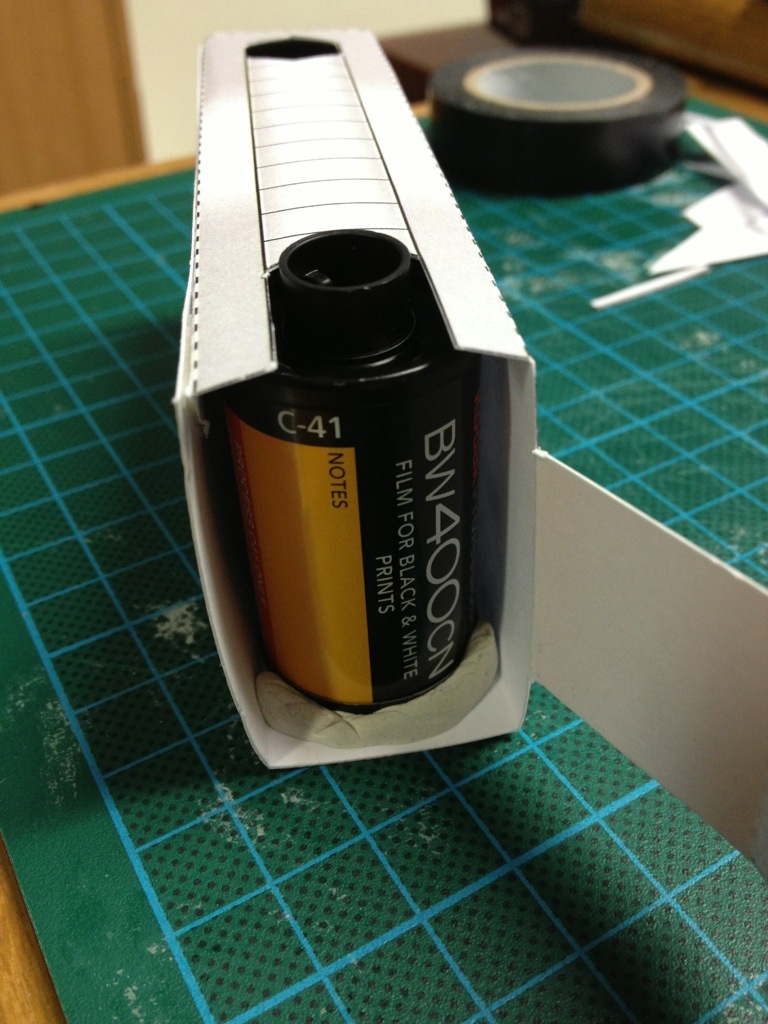
Secondly, the internal part of the camera, when put inside the outer housing, has some movement. There is the possibility that the internal part of the camera could move during exposure causing the image to blur. To eliminate this I simply attached a small bit of white tack to the edge of each film canister to take up the space.
I’m now looking forward to some pinhole photography fun.
Stay tuned for the results 📷
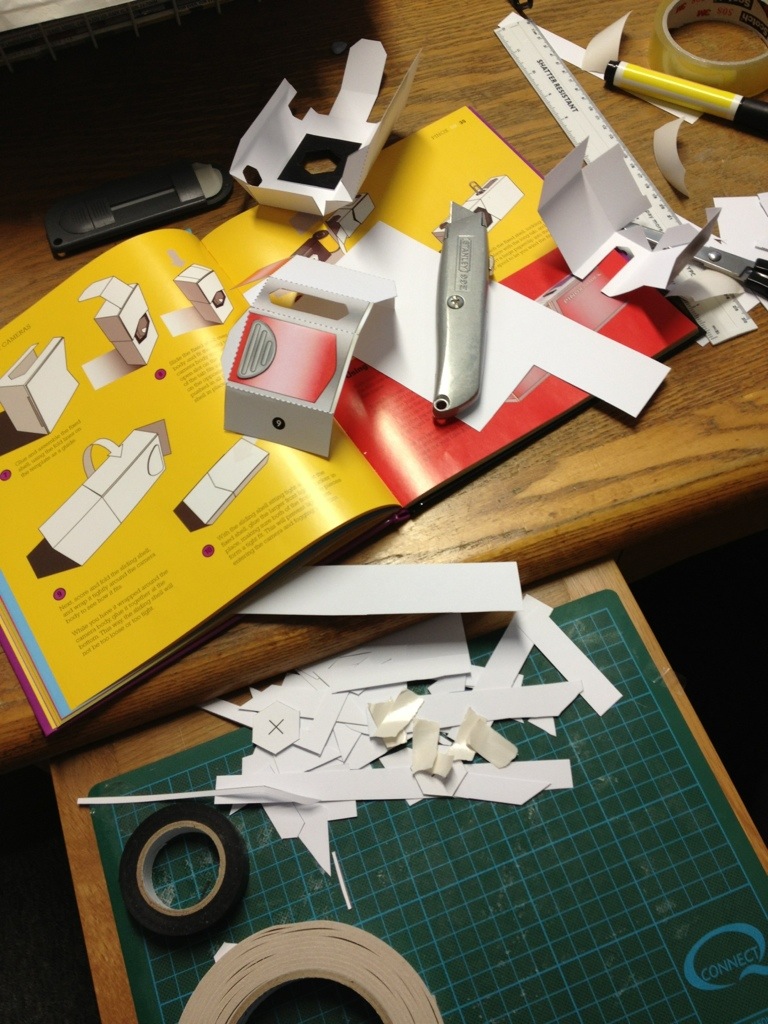
The black and white film will be on the way shortly as promised, till then I have been fiddling with paper and glue.
Today I set about building a new pinhole camera using a book I bought a while ago, which includes a CD of nets to print out so you can build a variety of different pinhole cameras.
Here is what I have so far, I’m hoping to get it finished off tomorrow.


As you can see it is very similar to the matchbox pinhole camera I have made previously.
At this early stage of making it seems like it may be better for keeping out stray light and eliminate some of the light leaks (if you want that I suppose). In terms of getting a clear sharp image (as sharp as can be expected of a camera with a pinhole actually made from a pin stuck through a piece of pop can!), the proof will be in the pudding, as they say. This may need fettling at a later day, we’ll see what I get.
Please also don’t forget to check out my 365 Skies Photo Challenge Blog. It’s coming along nicely with 50 days already completed. After having great weather for the last three days I am now really looking forward to summer and some more beautiful sky opportunities.
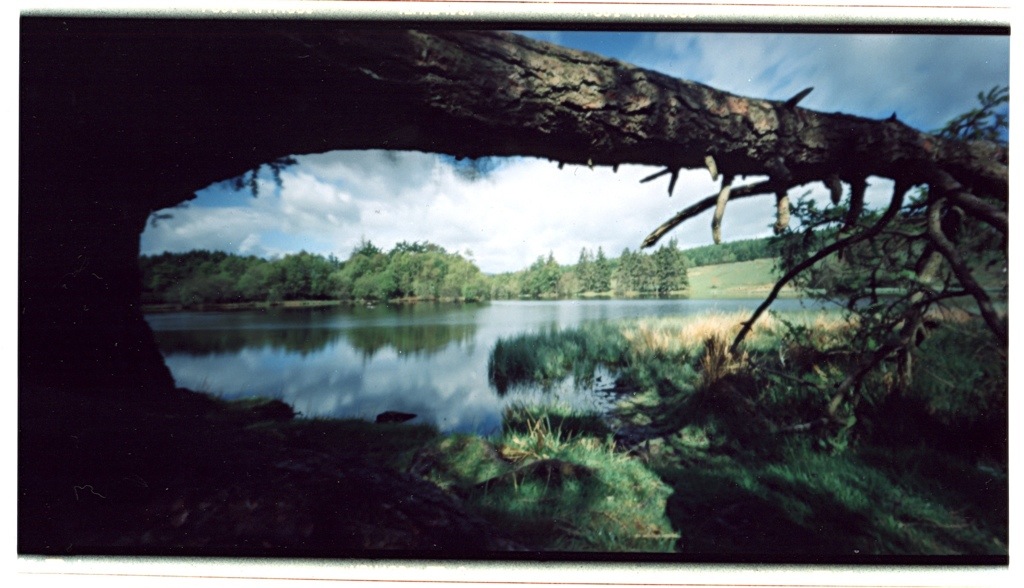
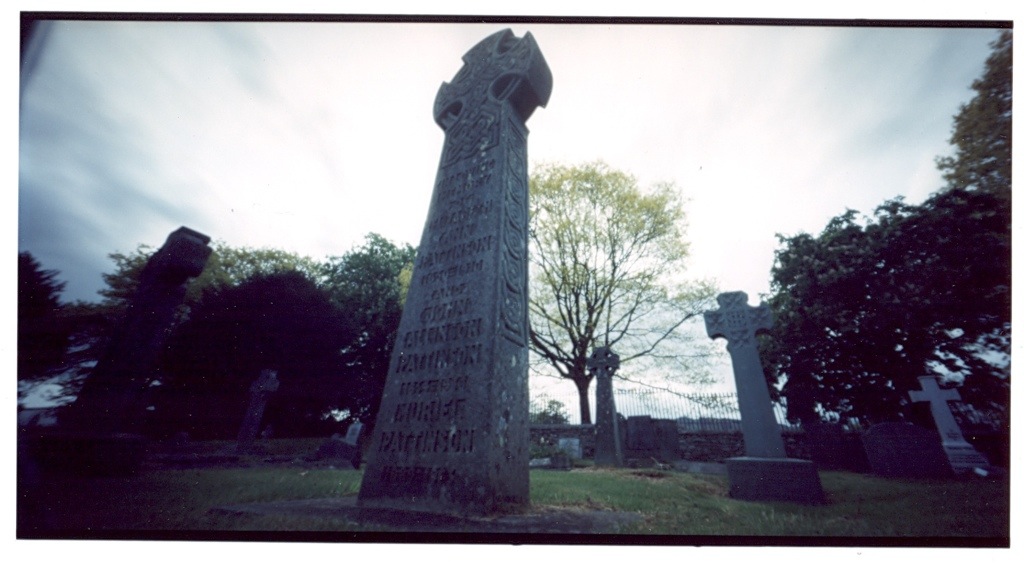
The other day I went for a walk and took my Holga pinhole camera loaded with a roll of Ilford XP2 Super (black and white). I have yet to process the film so until then I would like to share with you some more images of mine taken just up above Hartsop in the Lake District with another gem of a camera, the Horizon swing lens camera. The link I have shared with you is for the Perfekt and the Kompakt, which I believe are the current models, mine is the 202 model, but is basically the same camera.
These cameras use 35mm film and have a field of view of 120 degrees, giving you a great panoramic view and lovely long negatives.
The way this camera works is as the name suggests, the lens swings. As you wind on your film, this sets the lens. You then set the correct shutter speed and aperture for the lighting conditions.
These cameras have no metering of their own so a meter reading needs to be taken with a light meter or you can use the metering in your DSLR by setting the ISO to match the film you are using, then work out the shutter speed and aperture relative to what you have available on the Horizon camera.
Once all this is done make final composition checks and press the shutter.
You can get lovely wide shots like these.
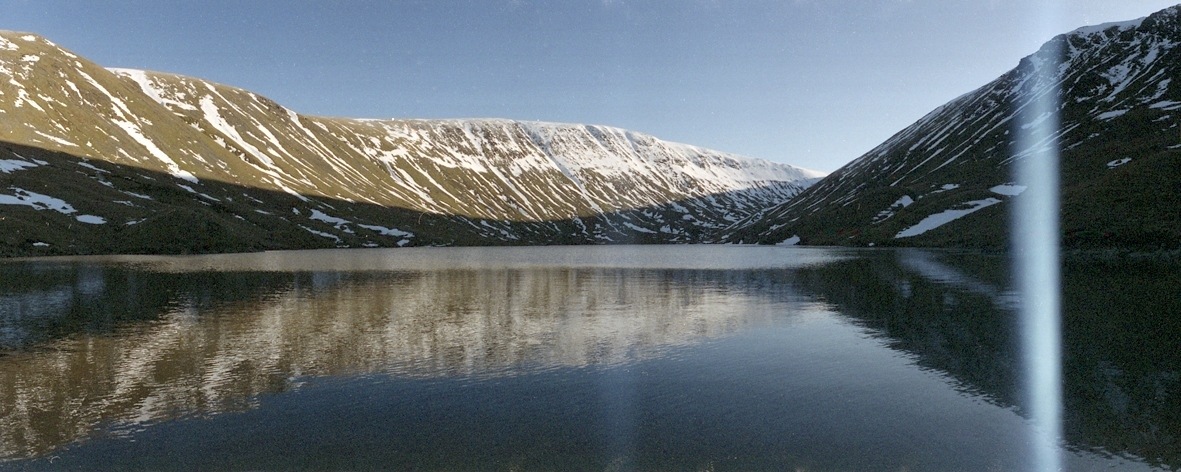
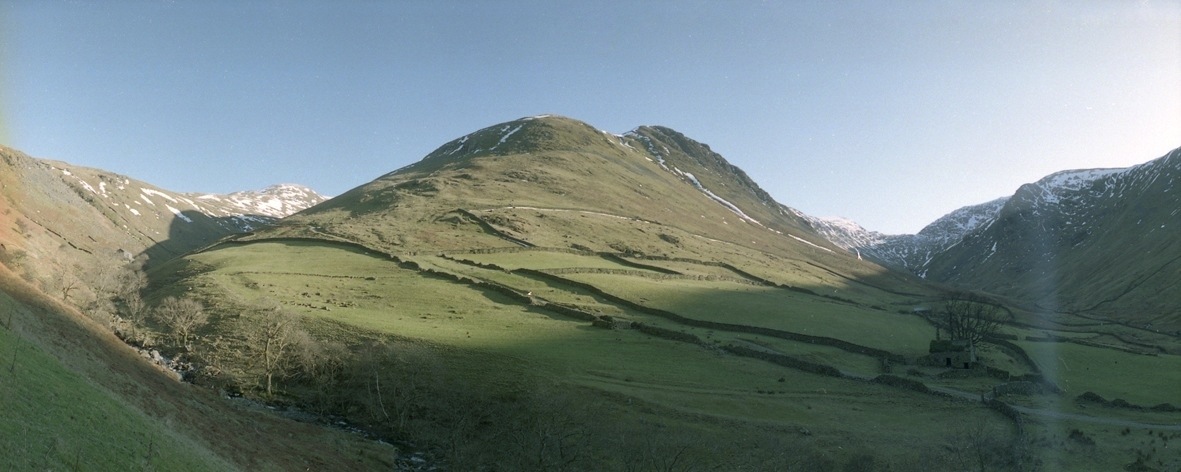
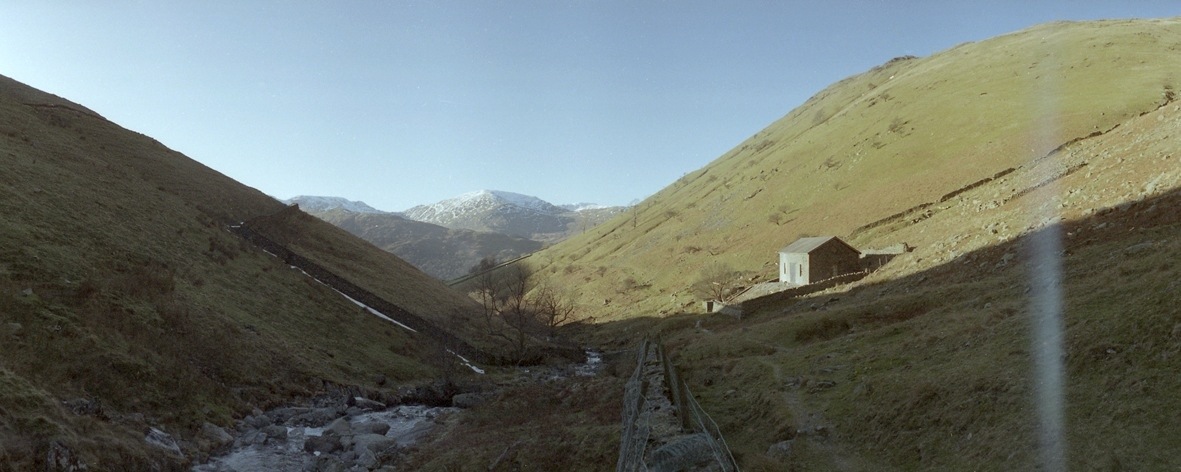
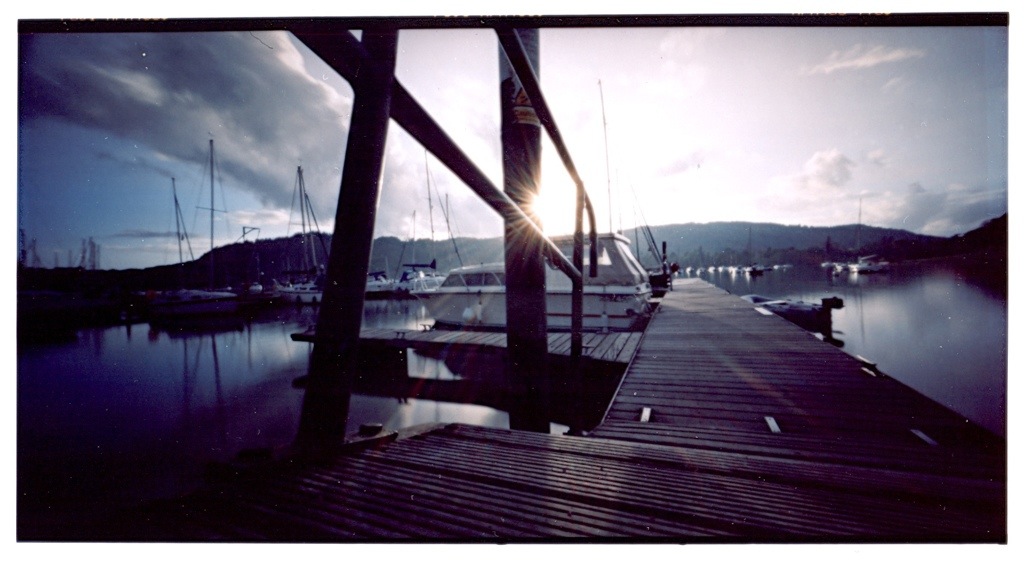
To keep everything true and avoid bending the horizon of your images or anything that goes accross your shot, this camera relies on being level. Though some interesting effects can be got by not having it level, as can be seen in the example below.
You’ve most likely noticed the white banding on the images. This is one common fault that can occur with this type of camera, it was common on the 202 models, it may have been rectified now. It seems that it is stray light bouncing around off small silver metallic parts within the camera during exposure. Unfortunate but I have found that it is worst in bright light conditions.
I hope you’ve enjoyed these and keep an eye out for my Holga pinhole images shortly.
Ever wondered what happens to your roll of colour film when you drop it off at your local processing lab? Take a look at this blog post to find out.
The process used for colour film is C-41. This can also however be used to process black and white films such as KODAK PROFESSIONAL T400 CN Film and ILFORD XP2 Super, due to them being chromogenic (colour-forming) films where the image on the negative is produced by coloured dye not metallic silver.

While you can spend hundreds even thousands of pounds on camera equipment, you can be just as creative and have just as much fun, if not more, with the more primitive options for image making.
A matchbox pinhole camera is a great way to do this. While you can have great fun taking pictures with a pinhole camera, the fun really begins when you start to build it.
To build your own matchbox pinhole camera check out this link for items needed and instructions: Matchbox Pinhole
I made mine over three years ago now and have put many rolls of film through it.
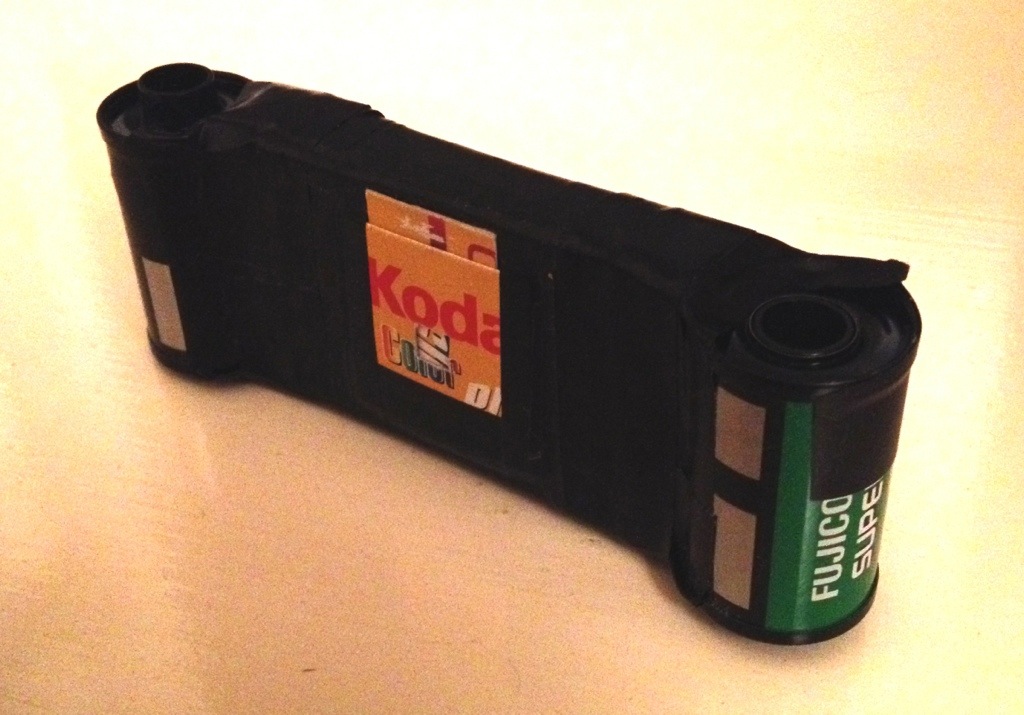
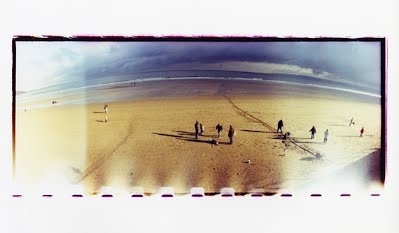
The beauty of the matchbox pinhole is that you can get a fantastic wide angle of view. This is due to the short distance between the pinhole and the film plane. Placing your pinhole camera very close to an object can give you great distortion because of this wide angle.
Below are a few examples of my own.
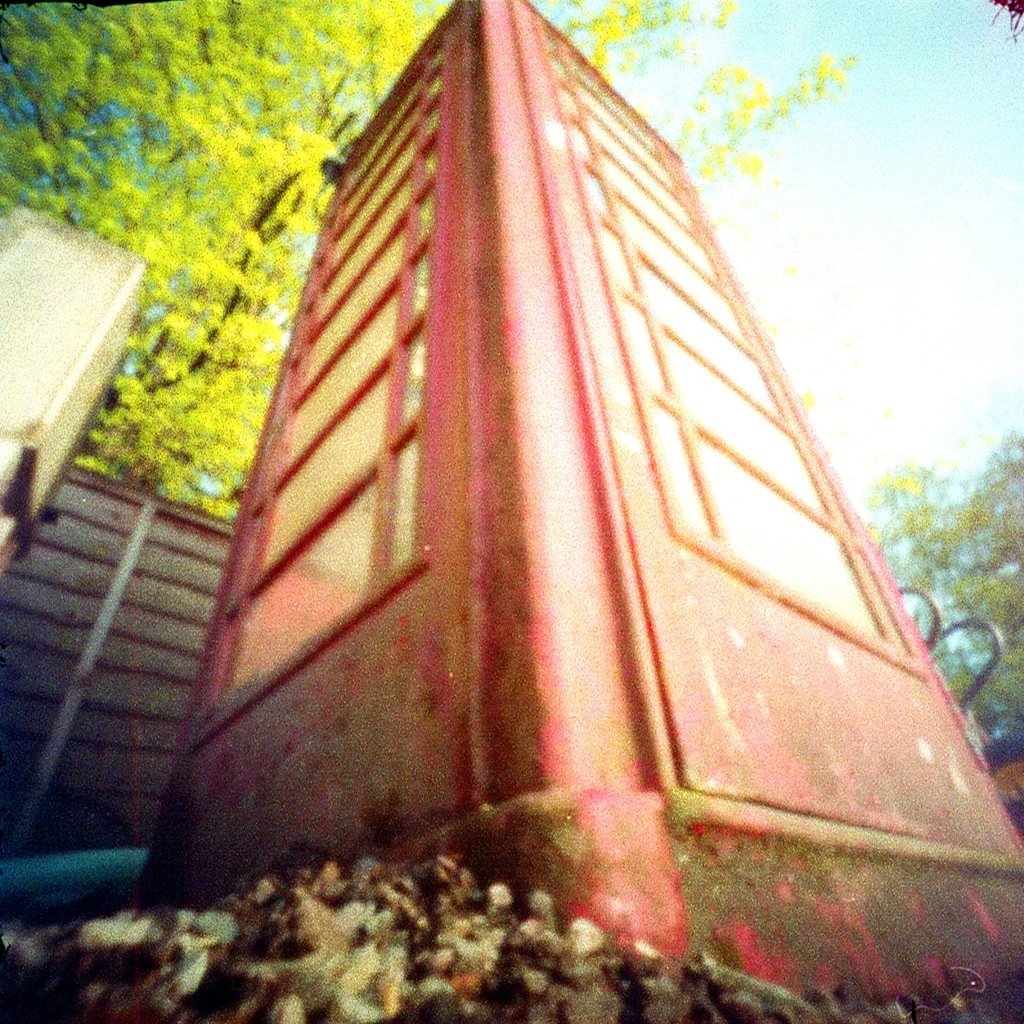
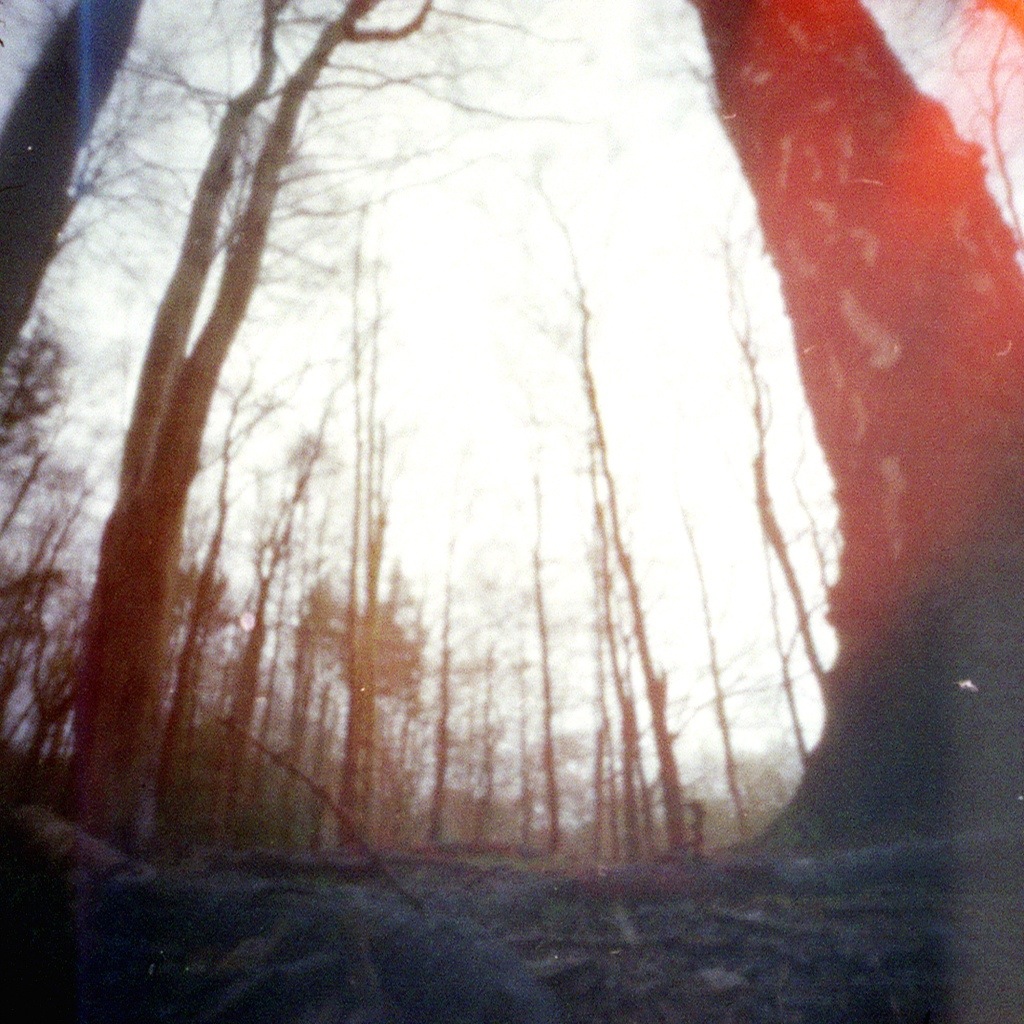
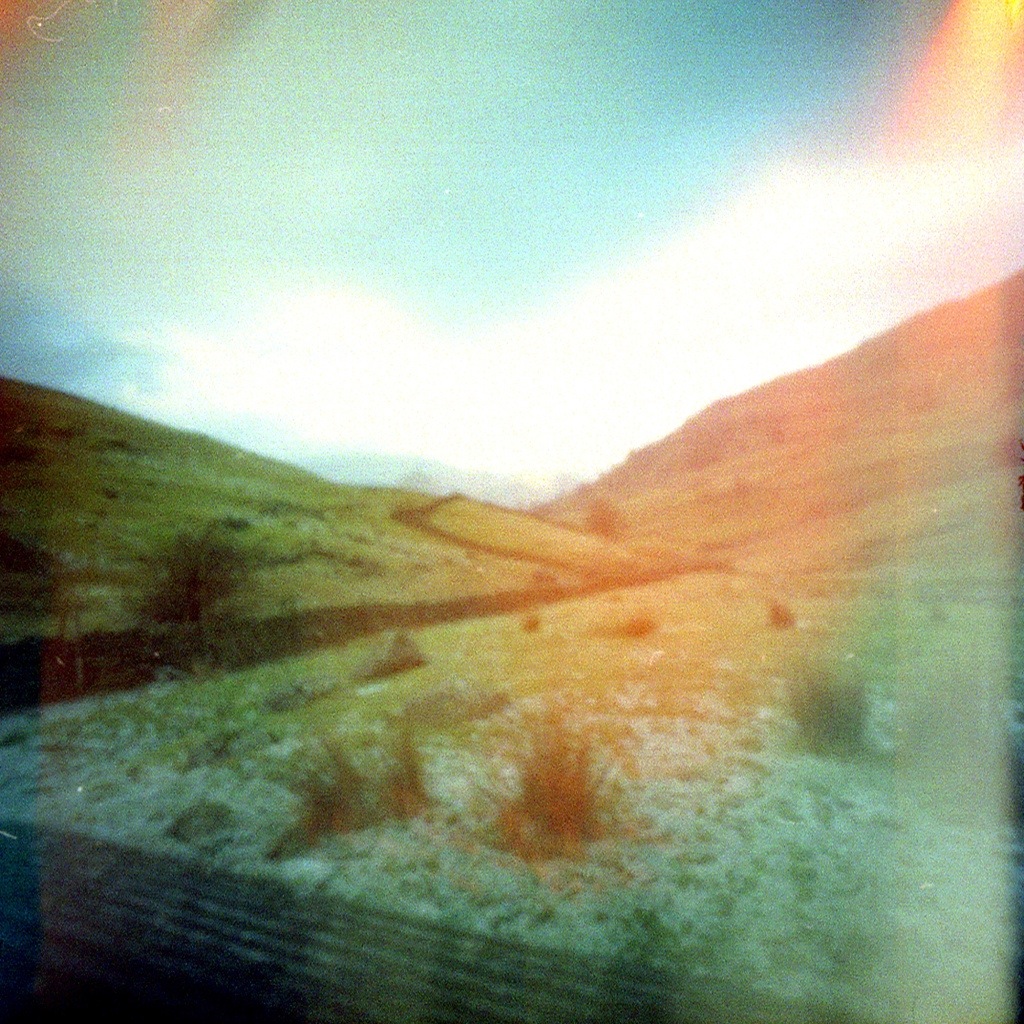

As you will have probably noticed these little cameras can be prone to light leaks, but to me this just adds to the creativity. When printing you can also choose whether you crop out the edge of the masking frame or leave it on for an interesting border effect.
Examples of others work:
Street Photography
Example 2
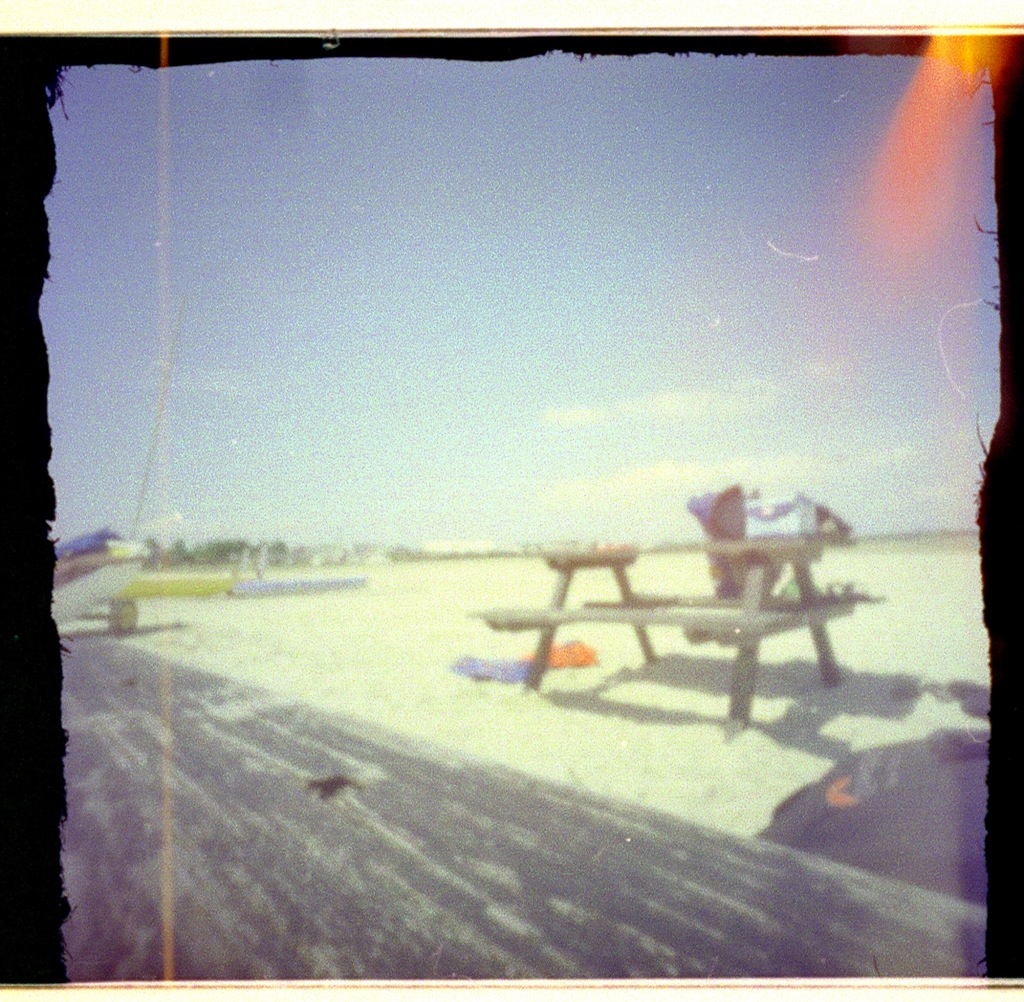
A few years ago I bought a Holga Wide Pinhole camera like this: Holga Wide Pinhole
It is a great camera to play around and experiment with. It uses 120 roll film and produces a lovely large neg at 12cmx6cm. The wide angle means you can get so much in shot but also creates some great distortion of objects and lines.
Below are some shots I took with this great little plastic pinhole camera a while ago. With starting this blog I will be taking this camera out more often with me and having some fun. Check back soon to see some more results.